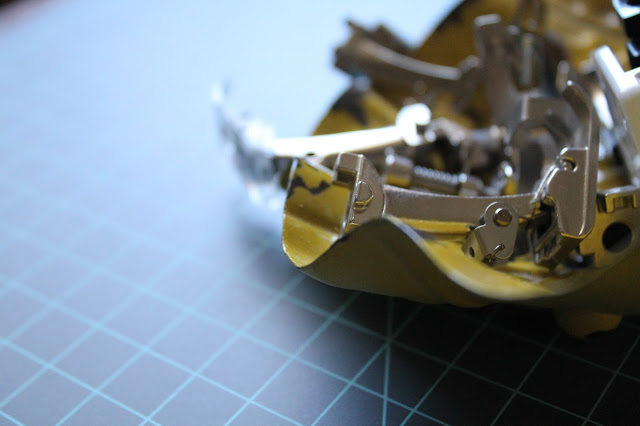
Hemming With Your Serger

It's hard to believe that February is almost over. All month long I've been exploring and sharing some great projects and getting to know (and love) your serger. Sergers (some folks call them overlockers- they're the same thing) are most often used to create professional hem finishes on sheers, knits, or wovens. The overlock stitch, created by your serger, can be used to sew hems on so many different types of garments- from yoga pants to evening gowns. In some cases your overlock is used side by side along with your conventional sewing machine to finish hems.

Overlocked and top stitched hem reduces bulk by using overlock finish instead of hem tape or a double fold hem.

Blind Hem
Adjust your machine to a flat lock stitch. Set stitch length to 4mm.

Fold hem up and press. Use clips if needed instead of pins. (safety first!)


Open hem and pull fabric flat. Ladder of stitches show on right side of light weight fabrics (you may choose to lengthen your stitches) on heavier knit or terry fabrics it is invisible.
I hope sharing these two widely used techniques are a good starting point for learning how to hem with a serger. Interested in learning a few more ways to hem using a serger read 10 Ways To Hem on A Serger


Comments
Post a Comment